
As promised, here are the steps for framing the sea fans. I started with fans. If you would like some of your very own click here. Then, I picked up two square shadow box Ribba frames in white from IKEA. Yes, I said IKEA. I already had the linen, but you can pick up a yard or so from any fabric store. In addition to these supplies, you will also need: scissors, exacto knife (box cutter), self adhesive fabric spray, a staple gun, monofilament thread, a needle, a drill, four popsicle sticks (just wait, I'll explain) and thick brown all purpose paper.
Step One
Measure your sea fans and determine the best placement of them in your frame. Mark this spot on the backing board (which is provided with the Ribba frame).
Using your drill, make a small hole going all the way through the backing board. You will also want to make a second hole in the backing board at the point where the base or root of the sea fan will rest.

Using your drill, make a small hole going all the way through the backing board. You will also want to make a second hole in the backing board at the point where the base or root of the sea fan will rest.

Step Two
Measure and cut your linen one inch larger than the backing board all the way around.


Step Three
This is very important (I did not do this on the first one and had to go back and redo it). Secure the brackets and hanging wire onto the backing board (using the instructions provided with the IKEA frame).

Step Four
Spray the backing board with the self adhesive spray and cover with the linen. This will cover the fronts of the hanging brackets so they are not see in the final product.


Step Five
Flip the board over and re-enforce with staples to secure the linen to the board. This will prevent the fabric from drooping from the weight of the sea fans in the final product.


Step Six
Using the needle and monofilament thread, push the needle through the back and around the sea fan to secure it to the board.
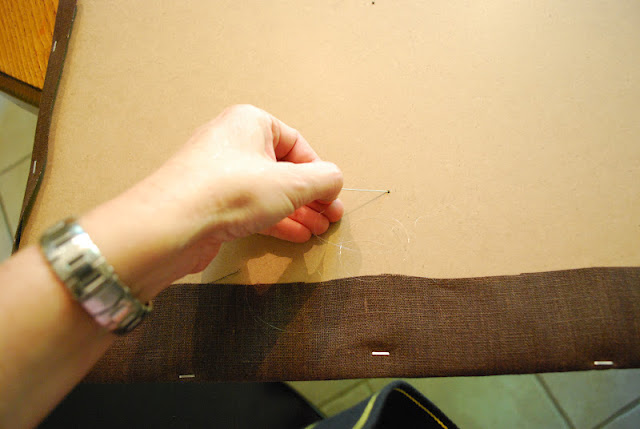
You are basically sewing the sea fan to the linen.

I looped it through the backing board and around the sea fans three times. I did this for for the top and bottom holes I drilled in the backing.


You are basically sewing the sea fan to the linen.

I looped it through the backing board and around the sea fans three times. I did this for for the top and bottom holes I drilled in the backing.

Step Seven
Once you have loop it through several times, place a popsicle stick over the drilled hole on the back and tie off the thread securing the popsicle stick. This will act as a support for the sea fan and prevent it from drooping in the final product.

Step Eight
Remove the mat provided with the frame (you will not need it for this project) and place the backing board in place in the frame and bend the dark metal braces back in place to secure the backing into the frame.

Step Nine
Using thick brown paper and double stick tape, finish off the backs of the frames for a professional look.

And that is it! I know it sounds like a lot of steps, but they are all very easy. It took me about 20 minutes start to finish. No waiting around for glue to dry like with the intaglio project!
Now, it's your turn. I would love to see pictures of your finished project. M.


